
Installation and Construction Plan for Electric Retractable Bleachers
1. Project Overview
This plan covers site preparation, installation steps, electrical commissioning, safety inspection, acceptance and maintenance of electric retractable bleachers (telescopic tribune).
Applicable for indoor gymnasium, sports hall, multi-purpose venue.
Scope of Work
Site survey & measurement
Floor foundation treatment
Assembly of bleacher steel frame, support legs, seats, guardrails
Electric drive system installation (motor, guide rail, limit switch, control box)
Wiring & electrical debugging
Safety load test & final acceptance
2. Pre-Installation Preparation
2.1 Site Condition Check
1. Floor: Concrete floor, flat, solid, no cracks; floor flatness tolerance ≤3mm/m. Floor bearing capacity must meet the design load requirement ≥500kg/m².
2. Space clearance: Reserve enough space for fully extended & fully retracted status. Check overhead obstacles, wall distance, emergency exit passage.
3. Environment: Indoor dry environment, avoid long-term water immersion. Ambient temperature: -10℃ ~ +45℃.
2.2 Tools & Materials
Tools: Laser level, torque wrench, electric drill, spirit level, multimeter, cable cutter
Components: Main frame, telescopic scissor bracket, guide tracks, drive motor, control panel, limit sensors, seats, guardrails, anchor bolts, wiring cables
2.3 Safety Preparation
Set isolation warning zone during installation
Install temporary safety barriers
All installers wear safety helmets, safety shoes
3. Step-by-Step Construction & Installation
Step 1: Site Marking & Positioning
Use laser level to mark the center line, track position, anchor hole positions on the floor. Confirm the overall length, retracted depth and extended depth match drawing.
Step 2: Fix Base Guide Rails
1. Place guide rails along the marked line, adjust level.
2. Drill anchor holes into concrete floor, install expansion anchor bolts, fasten rails tightly. Ensure rails are parallel, no distortion.
Step 3: Assemble Telescopic Steel Frame
1. Assemble the scissor-type telescopic support structure section by section according to modules.
2. Connect each frame unit with high-strength bolts, tighten bolts to specified torque.
3. Install support wheels under each tier, ensure wheels slide smoothly inside the guide rail.
Step 4: Install Seats & Guardrails
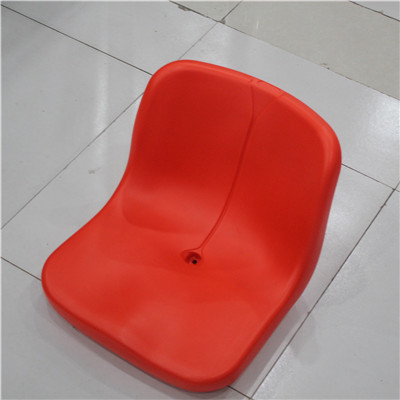
1. Mount seats on each tier platform, adjust seat spacing evenly.
2. Install rear guardrails and side guardrails. Guardrail height ≥1100mm as safety standard.
3. Install handrails at aisles.
Step 5: Electric Drive System Installation
1. Mount the drive motor and reducer at the end of the bleacher set.
2. Install travel limit switches: extended limit switch and retracted limit switch, to stop auto operation at end positions.
3. Install control box on the wall (easy to reach for operator).
Step 6: Electrical Wiring
1. Run power cable and signal cable from control box to motor and sensors.
2. Complete cable connection, do cable protection, ground the whole steel frame reliably for anti-electric shock safety.
Power supply: 380V three-phase / 220V single phase, depends on motor configuration.
Step 7: Mechanical & Electrical Commissioning
1. Manual test first: Push & pull the bleacher to check sliding, no jamming, no abnormal noise.
2. Power on, low-speed test: Run extend / retract repeatedly.
3. Verify limit switch function: It must stop automatically when fully open or fully folded.
4. Adjust running speed, check synchronism of all modules.
4. Safety Inspection & Acceptance
1. Bolt inspection: Recheck all high-strength bolts are fully tightened.
2. Load test: Apply uniform live load on tiers, check frame deformation.
3. Safety function test: Emergency stop button must cut power immediately.
4. Document handover: Submit construction record, wiring diagram, operation manual, warranty certificate.
5. Acceptance: Customer sign-off after all tests pass.
5. Operation & Maintenance Requirements
1. Operators must be trained; only trained staff can operate the control panel.
2. No people stand or sit on bleachers during extending / retracting movement.
3. Regular maintenance: Quarterly lubricate guide wheels and sliding tracks; check bolts, cables, limit switches every 6 months.
4. Keep track clean, free of sand, debris.
6. Construction Schedule Reference
| Item | Duration |
|---|---|
| Site measurement & marking | 0.5 day |
| Rail fixing & frame assembly | 1–3 days (depends on total rows & length) |
| Seat & guardrail installation | 1 day |
| Electric wiring & commissioning | 0.5–1 day |
| Safety testing & acceptance | 0.5 day |
7. Risk Control
Stop work immediately if floor foundation is unqualified.
No power on during frame assembly.
Keep people away from moving bleacher during commissioning.