
Complete Installation Guide for Outdoor Basketball Hoops
Installing an outdoor basketball stand is a simple DIY project with standard tools and correct steps. A properly installed basketball hoop ensures stable performance, safe gameplay and long service life for outdoor courts. This step-by-step guide applies to most portable and in-ground outdoor basketball stands.
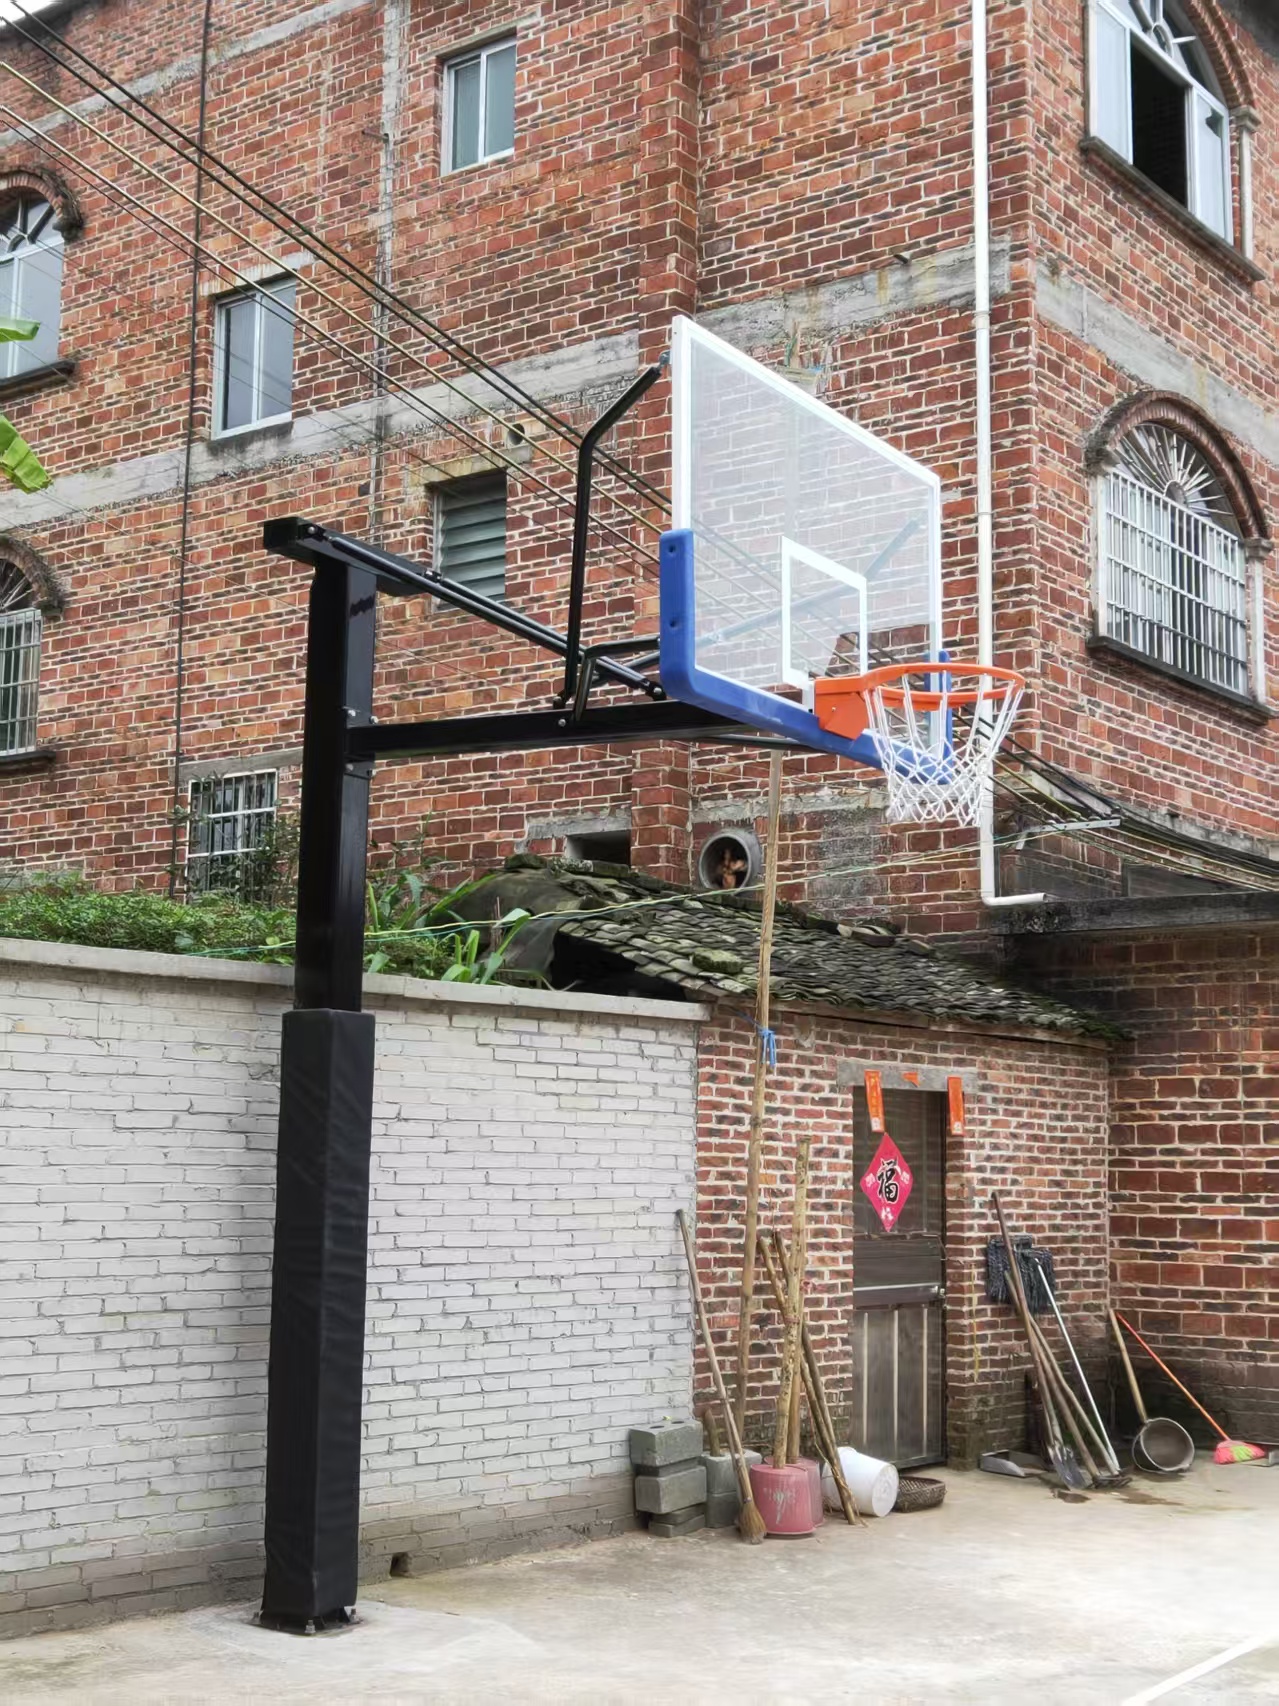
Pre-Installation Preparation
Before starting installation, complete all preparations to ensure smooth assembly:
- Site Selection: Choose a flat, level and hard outdoor ground such as concrete or asphalt. Reserve enough open space around the stand to avoid collisions during basketball games. Keep away from walls, wires and obstacles.
- Tool Preparation: Prepare basic tools including a wrench, screwdriver, level ruler and measuring tape. For portable stands, prepare sandbags or water for base weighting.
- Parts Check: Unpack and check all accessories, including support poles, backboard, basketball rim, net, screws, bolts and base parts, to ensure no missing or damaged components.
Step-by-Step Installation Instructions
Step 1: Assemble the Base Frame
First, assemble the bottom support frame according to the product manual. Align the connection holes of the base brackets and fix them tightly with matched bolts and screws. Make sure the entire base frame is placed horizontally and stably on the ground without shaking. For portable basketball stands, fill the base container with water or sand to increase weight and prevent tipping over.
Step 2: Install the Vertical Support Pole
Connect the segmented vertical support poles together, aligning the positioning holes precisely. Fasten all connecting bolts firmly to avoid loose shaking. Upright the assembled pole and fix it vertically on the base frame. Use a level ruler to calibrate the vertical angle to ensure the pole is perpendicular to the ground, which is the key to stable height adjustment and normal use.
Step 3: Mount the Basketball Backboard
Place the transparent or acrylic backboard on the reserved mounting bracket of the support pole. Align the fixed holes on the backboard with the bracket holes, then tighten the fixing bolts one by one. Do not over-tighten the screws in a single position at first to avoid backboard deformation. After overall calibration, fix all screws completely to ensure the backboard is flat and firm.
Step 4: Install the Rim and Basketball Net
Fix the metal basketball rim on the reserved mounting position of the backboard with special bolts. Ensure the rim is horizontal and bears force evenly without shaking. After the rim is stably installed, hang the basketball net on the hooks of the rim one by one, and tidy the net to keep it neat and symmetrical.
Step 5: Install Height Adjustment Device
For adjustable basketball hoops, install the crank or hydraulic lifting device according to the structural design. Connect the adjusting gear or hydraulic rod to the support pole and backboard bracket, debug the lifting function repeatedly to confirm the hoop can be raised and lowered smoothly, and the locking device can fix the height stably.
Step 6: Overall Inspection and Calibration
After full assembly, check all bolts and connecting parts again to eliminate loose parts. Calibrate the verticality of the support pole and the levelness of the rim. Test the height adjustment function and stability of the entire stand to ensure no shaking or jamming during use.
Installation & Daily Safety Notes
- All bolts must be fully tightened during installation to prevent structural loosening caused by long-term vibration from shooting.
- Do not install the basketball stand on soft ground such as soil and lawns to avoid tilting or tipping.
- Regularly check the tightness of screws and the flexibility of the height adjustment device during daily use.
- Prohibit hanging or shaking the rim violently to avoid structural damage and safety accidents.
Standard Height Reference
The outdoor basketball stand supports multi-level height adjustment: 3.05m (10ft) for official adult matches, 2.6m–2.8m for teenagers, and 2.0m–2.35m for kids’ daily training and entertainment.